- eazyPNR Travel Solutions
- eazyPNR Travel Platform
- White Label Travel Portal Setup
- WordPress Plugin Setup
- Cross-Platform SDK Setup
- Travel APIs
- Manage Funds
- Load Funds
- Transaction History
- Change Password
- Back Office
- Global Settings
- Upload your logo
- My Bookings / Cancel Bookings
- Manage Profile
- Setting a Markup
- Customize Searchbox
- Custom Styling (CSS)
- Payment Gateway
- SMTP Settings
- Go Live
- Settings
- Manage Pages
- Addons
- Whatsapp Notifications
- AI Chatbot Settings
- Travel Insurance
- Manage Cashback
- Manage Discount Coupons
- Meals & Baggages (SSR)
- Refund Protect
- Hold Bookings
Setup & Installation - EazyPNR WordPress Travel Plugin
Home » Documentations » WordPress Travel Plugin » Setup & Installation
Step-by-Step Guide For You to add Travel Booking feature in your WP website
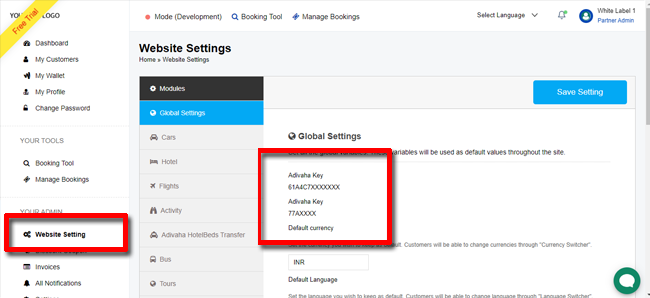
1. Login into your "backoffice" and navigate to "Website Settings". Pick the "API Key" and "Partner ID" and feed it into the WordPress plugin to connect it to our CRS.
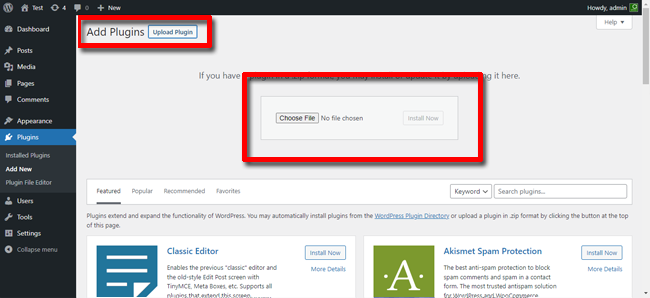
2. Login to your WordPress admin. Navigate to "Plugins" -> "Add New"

3. Click "Upload Plugin" -> upload "adivaha" plugin.
4. Click "Activate Plugin"

5. Click "adivaha® Plugin" -> Enter your "API Key" and "Partner ID" and click "Connect"

6. Use [adivaha_searchBox] shortcode to place the searchbox in the home page.
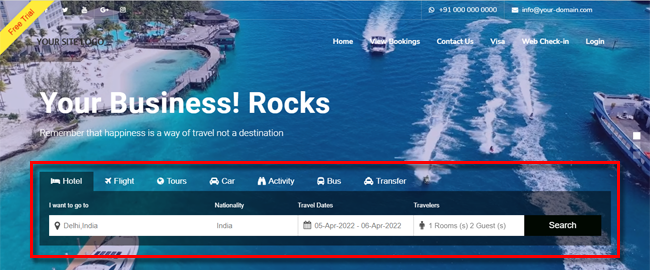
7. Create a search results "page" and put [adivaha_searchResults] in the search results page. Your url should look something like this https://www.yoursite.com/search-results/
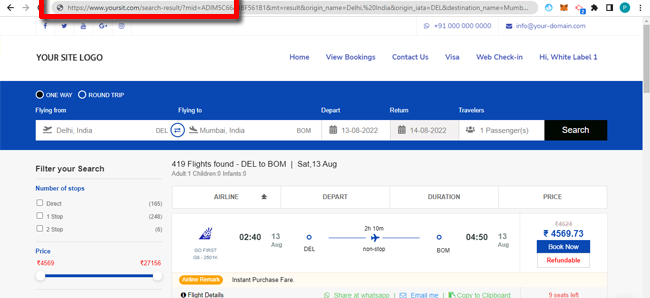
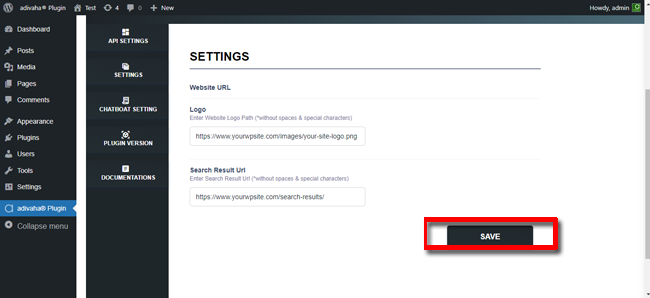
8. Feed the url of your logo and newly created search result page in the settings page ie, https://www.yoursite.com/search-results/ ("Search Result Url") and click "Save".
