.
.
.
- eazypnr B2B Travel Portal
- About eazypnr B2B Travel Portal
- Setup & Installation
- Go Live
- Whatsapp Notifications
- Change Password
- Manage Agencies
- Agency Registration
- Agency Account Activation
- Manage Agency Wallet
- Back Office
- Global Settings
- Upload your logo
- Manage Profile
- Customize Searchbox
- Payment Gateway
- SMTP Settings
- Settings
- Chatbot Settings
- Manage Wallet
- Load Funds
- Transaction History
- Cancel & Amend Bookings
Agency account activation - B2B Travel Portal
Home » Documentations » B2B Travel Portal » Agency account activation
1. Login to your back office and navigate to My Agents
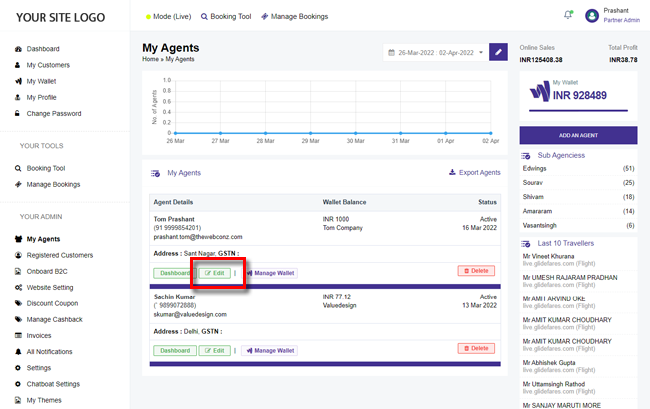
2. Click Edit button of the agency you would like to approve
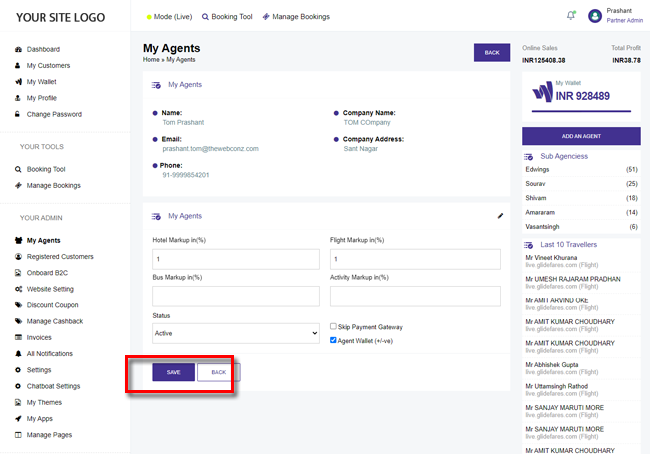
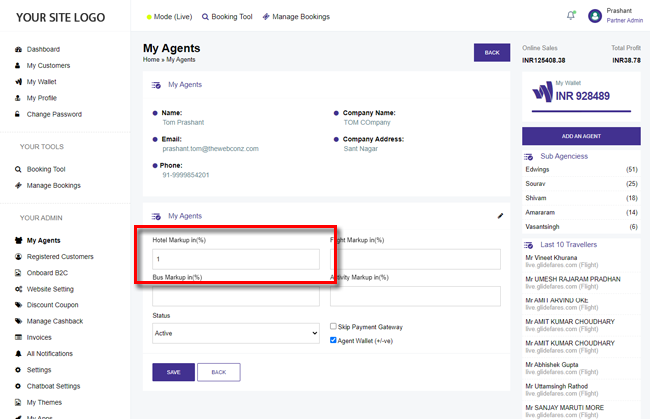
3. Click the Edit button in the right hand side of the box
4. Setup the markup on top of the agency price.
5. Activate the agency.
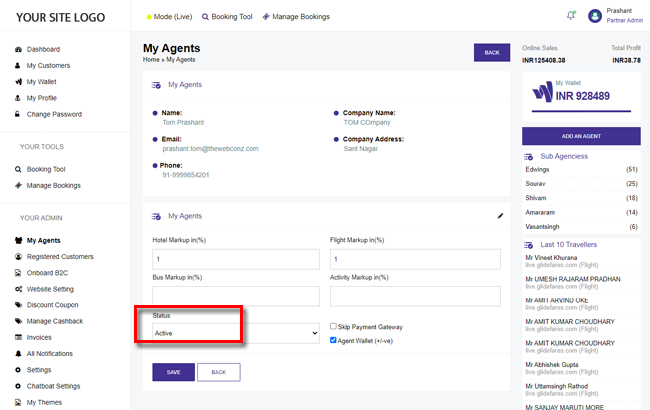
6. Click Save.
